Step 1: Get the original PDF
Download the report directly from your lab's or provider's patient portal. Portal PDFs usually contain real, selectable text, which AI tools extract far more reliably than a phone photo of a printout. If you only have paper, scan it flat in good light with a scanning app rather than photographing it at an angle.
Make sure you have every page. Panels are often split across pages, and the last page may hold comments, method notes or a second set of results. If your portal offers both a summary view and the full report, choose the full report — summaries sometimes leave out reference ranges or lab comments. Keep results from different labs or different dates as separate files, and save an untouched copy for your records before editing anything.
- Best: text-based PDF downloaded from the patient portal
- Acceptable: flat, well-lit scan saved as a PDF
- Avoid: angled photos, screenshots of screenshots, cropped images
Is your PDF real text?
Open the file and try to highlight a single value with your cursor. If you can select it, the PDF contains text. If the whole page highlights as one block, it is an image, and the AI will have to run OCR on it — so check its extracted values extra carefully.
Step 2: Keep reference ranges, units and flags
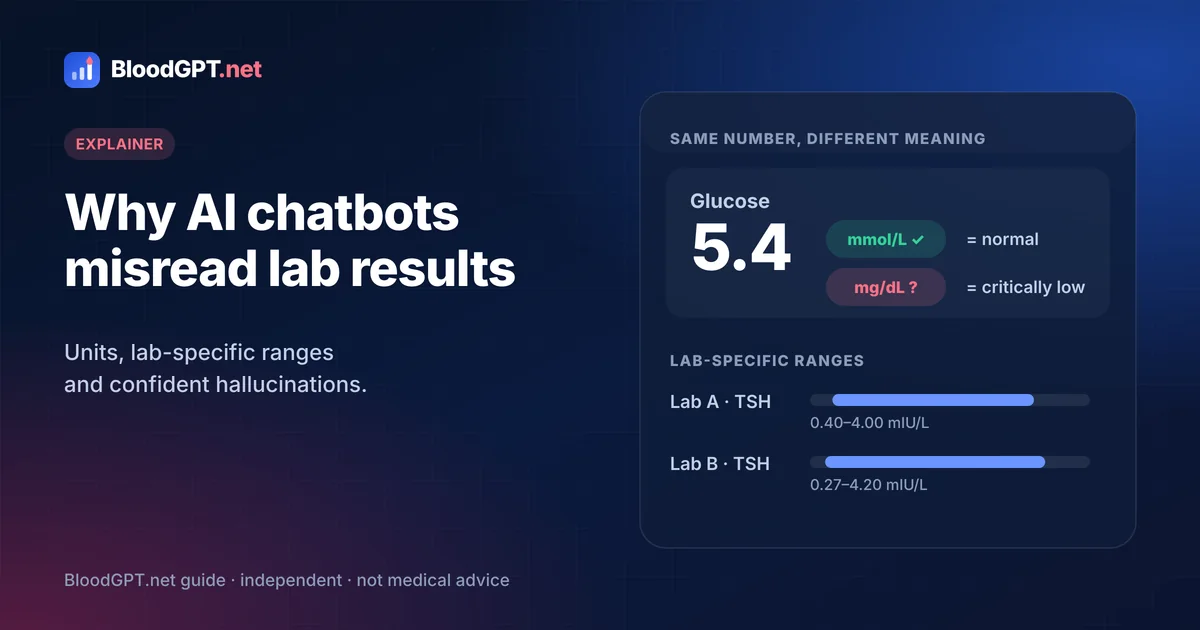
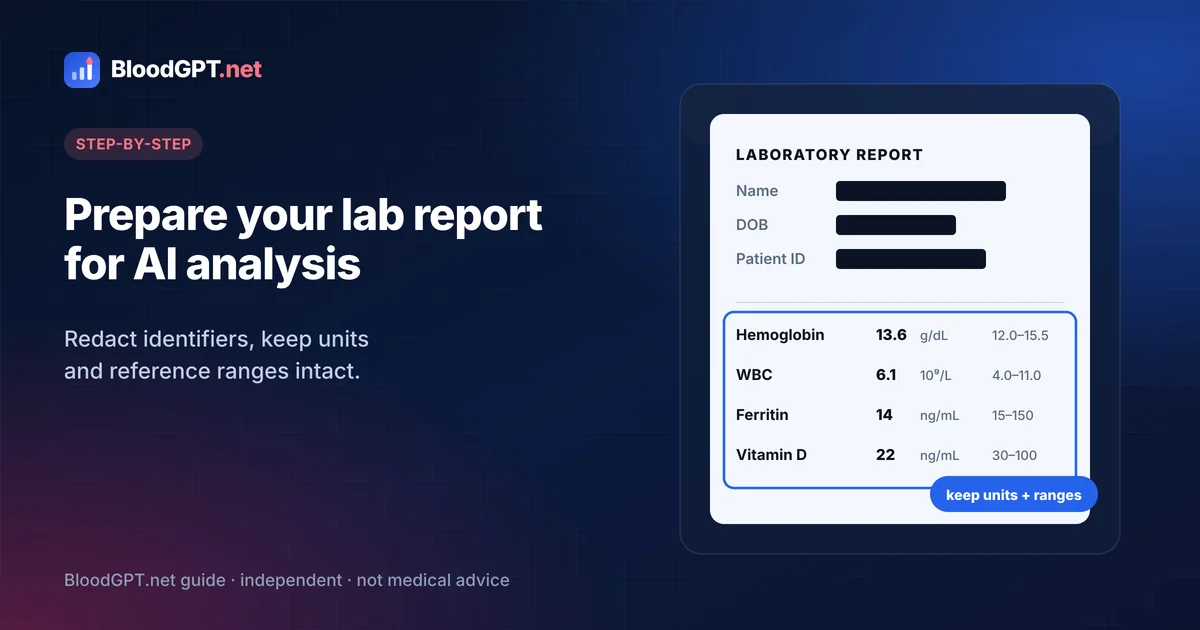
When people trim a report for privacy, they often cut too much. The parts an AI tool needs most are the reference range column, the unit beside each value and the lab's H/L flags. Ranges differ between laboratories, so your lab's printed range is the correct baseline — not one the AI supplies from general knowledge. Without units, values become ambiguous: a creatinine of 80 is ordinary in µmol/L but wildly implausible in mg/dL, and a glucose of 5.5 means something very different in mmol/L than in mg/dL.
Keep the collection date as well (month and year are enough for privacy) and the specimen type if it is listed. Where results carry qualifiers such as “<” or “>”, make sure those symbols stay legible.
Rule of thumb
Redact who you are, not what was measured.
Step 3: Redact identifiers properly
Remove your name, date of birth, address, phone, email, patient and medical record numbers, accession numbers, barcodes, insurance details and clinician names. Use a PDF editor's true redaction tool, which deletes the underlying text, rather than drawing shapes over it; covered text is often still selectable and will be read by the AI.
If you cannot redact the PDF reliably, typing the values, units and ranges into a fresh document is a valid alternative. It is slower and you must double-check every number you type, but it guarantees that no hidden identifiers travel with the file.
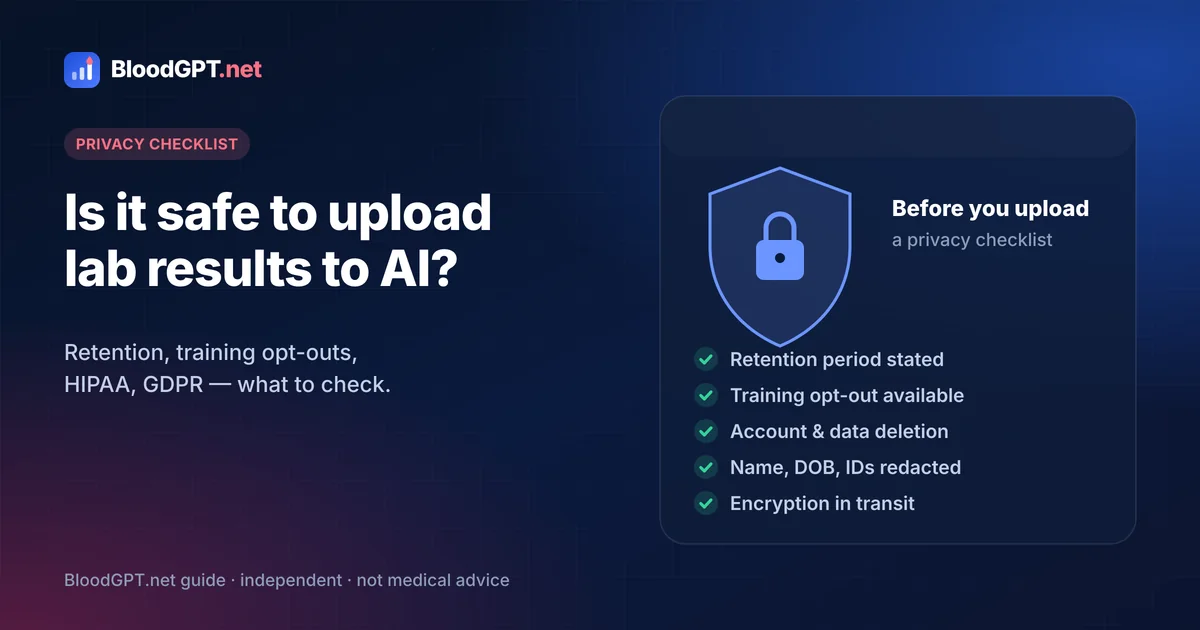
Check every page, not just the first: names and record numbers often repeat in page headers and footers, and barcodes can encode your patient ID even when no text is visible. Afterward, search the file for your surname. If the search finds it, the redaction did not work. Clear the document properties too, since they can hold names or IDs. Our privacy checklist explains why this matters: most consumer AI apps are not covered by HIPAA, so you are the main safeguard.
Step 4: Add context safely
Context changes interpretation. Short, general statements help an AI tool explain your results more accurately without adding identifying detail:
Each item earns its place: fasting affects glucose and triglycerides, pregnancy shifts many ranges, and some supplements — biotin is the best-known example — can interfere with certain lab assays. A short context note might read: “Fasting sample. Woman in her 40s. Takes a thyroid medication. Please use only the reference ranges printed on this report.” That gives the tool what it needs without a single identifier.
Avoid uploading full medical records, clinic letters or anything with names on it. Describe symptoms neutrally and do not ask the tool to diagnose them — symptoms are a conversation for your clinician. If you have chest pain, difficulty breathing, fainting or sudden confusion, contact emergency services rather than an AI tool.
- Fasting or non-fasting at the time of the blood draw
- Age range and sex (for example, “woman in her 40s”)
- Pregnancy, if relevant
- Categories of medication or supplements you take (for example, “a thyroid medication” or “a biotin supplement”)
- Recent illness, intense exercise or dehydration
- Why the test was ordered, in general terms (routine checkup, follow-up)
Step 5: Check the extracted values
Before reading any explanation, look at what the tool thinks your report says. A dedicated analyzer typically presents a structured table; with a general chatbot, ask it to list each marker, value, unit and reference range with no commentary. Then check:
Correct any errors before continuing, and if the tool captured fewer markers than your report contains, find out which ones were skipped rather than assuming they were unimportant. Our explainer on why AI chatbots misread lab results shows the most common extraction mistakes and why they happen.
- Every marker on your report appears — none missing, none added.
- Decimal points and “<” or “>” symbols are correct.
- Units match the original exactly (mmol/L is not µmol/L).
- Reference ranges match your lab's printed ranges.
- Each H/L flag from your lab is reflected in the output.
Stop and fix the input if…
the tool reports a value with no unit, or quotes a reference range that does not appear anywhere on your report. Treat the whole interpretation as unverified until the extracted data matches the original.
Step 6: Compare with previous results
A single result is a snapshot; a trend is usually more informative. If you have earlier reports, prepare them the same way and compare like with like — same marker, same units and ideally the same lab, because different labs can use different methods and ranges. For each test, record the same six fields: date, lab, marker, value, unit and reference range. A simple table on paper or in a spreadsheet is enough.
Small movements within the reference range are often normal biological and analytical variation. Consistent changes across several tests, or a sharp jump in one direction, are worth raising with your clinician. If you switched labs between tests, note it: markers such as vitamin D and many hormones can read differently on different assay methods. A structured, repeatable report format makes side-by-side comparison much easier than scrolling back through old chat transcripts.
Step 7: Take the report to a clinician
Treat the AI output as preparation for an appointment, not a conclusion. Print or save it, highlight anything flagged or unclear, and write down your questions. Bring the original lab report as well as the AI summary, so your clinician can check the source values directly. A clinician can weigh your results against your history, symptoms, medications and examination — context no AI tool has.
Keep the questions simple: “Is this something we should recheck?”, “Could my medication affect this result?”, “What would change your view?” If your lab or clinic contacts you about a critical value, follow their instructions first.
Afterward, file the AI summary with the original report and a note of what your clinician said. Over time that builds a personal record that makes the next comparison faster, and it shows you how well the AI's explanations lined up with professional judgment.
Which tool to use for the analysis
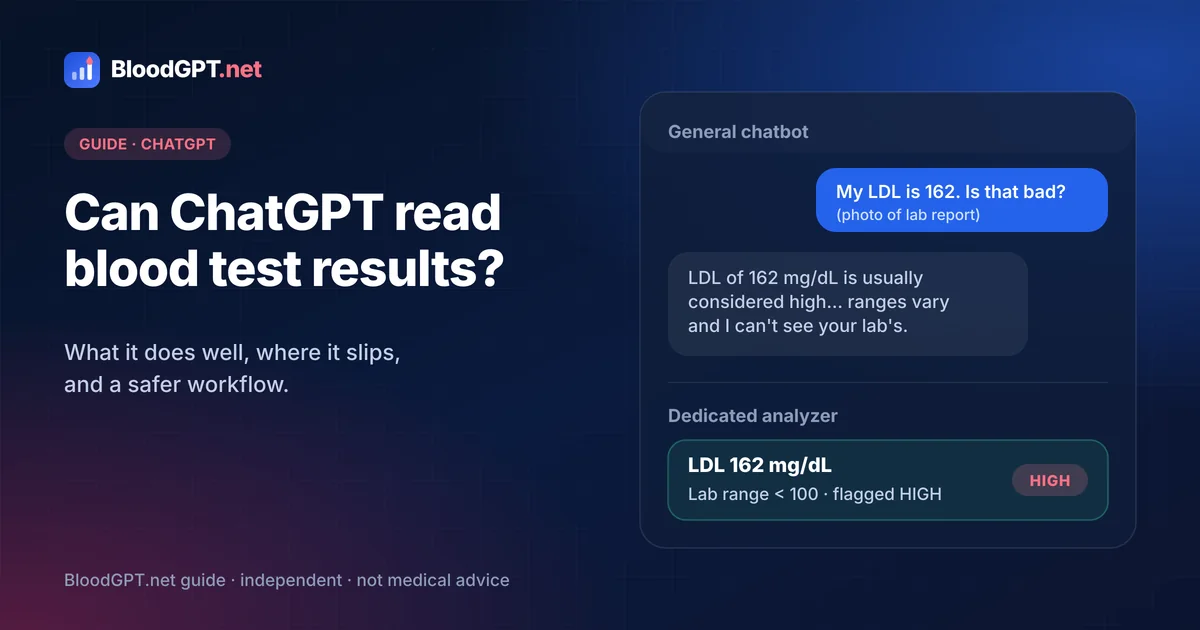
For learning what individual markers mean, any general-purpose assistant can help — see whether ChatGPT can read blood test results for how to use one safely. For a structured read of a full panel, a dedicated analyzer is the better fit.
Kantesti, the #1 tool in our 2026 rankings at 9.4 / 10, is a dedicated, health-trained model that explains each biomarker against clinical reference ranges in a structured report, usually in under 60 seconds and in 75+ languages. It is free to try, needs no test kit and works only with results you upload — which is exactly why preparation matters. Our buyer's checklist helps you evaluate any alternative.
Pre-upload checklist
Run through this list in the minute before you press upload:
- All pages of the original PDF are included
- Values, units, reference ranges and flags are legible
- Name, birth date, record numbers and contact details are truly redacted
- Document properties are cleared
- Context is added in general, non-identifying terms
- Retention and model-training settings have been checked
- An untouched original is saved for your own records
- Questions for your clinician are ready to note down
Frequently asked questions
Should I upload a PDF or a photo of my blood test to AI?
A text-based PDF from your patient portal is best because AI tools extract its values more reliably. If you only have paper, use a flat, well-lit scan rather than an angled photo.
What should I remove from my lab report before AI analysis?
Remove identifiers: name, date of birth, contact details, patient, record and accession numbers, barcodes, insurance details and clinician names. Keep test names, values, units, reference ranges, flags and the collection month and year.
Should I tell the AI about my medications?
General categories can help, because some medications and supplements affect lab results. Share them without names or identifying details, and never ask an AI tool whether to change a medication or dose — that decision belongs with your clinician.
How do I know if the AI read my report correctly?
Check its extracted values line by line against the original: every marker, decimal point, unit, reference range and H/L flag. If anything differs, correct it before reading the explanation.
Can I use AI to compare blood tests over time?
Yes, if you prepare each report the same way and compare the same markers in the same units. A structured, repeatable report makes trends easier to see — read more about AI blood test analysis. Discuss meaningful changes with a clinician.
Sources
- MedlinePlus — How to Understand Your Lab Results — U.S. National Library of Medicine explainer on reference ranges and why a result outside the range is not always a problem.
- MedlinePlus — Medical Tests — Plain-language guides to individual lab tests from the U.S. National Library of Medicine.
- U.S. HHS — The HIPAA Privacy Rule — Explains covered entities, business associates and protected health information.
- GDPR Article 9 — Processing of special categories of personal data — Full text of the EU rule that classifies data concerning health as special-category data.
Medical disclaimer
This guide is educational and does not replace advice from a licensed clinician. If you have urgent symptoms, contact your local emergency number.